Last Updated: October 8, References. To create this article, 14 people, some anonymous, worked to edit and improve it over time. This article has been viewed 27, times.
Learn more For thousands of years, people have been relying on canoes for water travel. In many cases, these were simple canoes and carving knowledge was passed from generation to generation.
At its most basic, a canoe can be dug out from a large log; however, you can make a more sophisticated version using strips of wood. Either way, you need to plan and have access to good basic tools. Whether you need to level up technical and professional skills for work, increase your financial literacy, or even improve your personal relationships, we have courses for you.
Log in Social login does not work in incognito and private browsers. Please log in with your username or email to continue. No account yet? Create an account. Edit this Article. We use cookies to make wikiHow great. By using our site, you agree to our cookie policy. Cookie Settings.
Learn why people trust wikiHow. Download Article Explore this Article methods. Tips and Warnings. Things You'll Need. Related Articles. Method 1 of Purchase a strip canoe kit. Research a reputable canoe company and select the model of strip canoe you'd like to put together. Place your order and wait for the kit to arrive. Your kit should contain the wood for your canoe, the layout and instructions, some hardware, and fiberglass cloth. You may require other tools to actually assemble your strip canoe.
Read the instructions. This will ensure that you are completely prepared. Make sure you have all the necessary tools and equipment to put together your canoe. This may take several hours, depending on the difficulty of the canoe you've chosen.
Take your time to really read and visualize the instructions. If you don't understand a step or two, contact the company for assistance. This will save you time in the long run. Build a saw back. This is what you will build your strip canoe on. Place a long thin table or platform on top of saw horses or blocks. The platform or piece of wood should be completely level. Your sawback will probably be 12 to 15' long and will act as the skeleton around which you'll assemble your strip canoe.
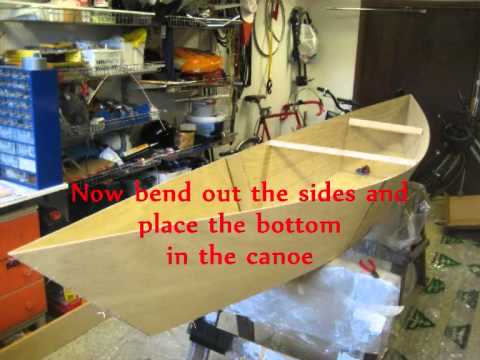
Cut out the forms. Hopefully, your kit contains molds or outlines for forms. Forms act as a support system to shape and hold strips that are stretched and attached to your sawback. Trace the forms onto particle board and use a saw to cut them out.
The forms will appear mushroom-shaped when stacked. The wider end will be placed on the bottom of your sawhorse or the bottom of your canoe. Some kits may include pre-cut forms. In this case, simply spread them out in the correct order and begin to attach them to the sawback. Apply the forms to the sawback. You'll want to attach the forms to station blocks, small 1" wide pieces of wood.
Make sure the wider part of the form is connected to the station block. Then attach the station blocks flat on the sawback using drywall screws. This will keep your boat aligned.
Attach the ends. Depending on whether or not your kit includes them, you may have to cut 2 quarter-circle sections that will hold the shape at the end of your canoe.
Make sure the ends are completely centered. If you have to cut them, trace the outline onto plywood and use a saw to cut the sections out. Cover the ends and forms with masking tape.
You'll be attaching wood strips to the ends and you don't want them to accidentally adhere to the ends. Covering the ends and forms with masking tape prevents the strips from sticking and should make it easier to remove when you take the forms and ends out.
You need to cover the edges of the forms since glue from the wood strips could cause the strips to stick to your forms. The tape will make it easier to remove the forms. Method 2 of Spread carpenter's glue on the edges of your wood strips. Strip canoes are edge-glued which is what will eventually allow them to hold shape.
While you'll attach the strips to the forms and end of the boat using staples, the glue between the strips will create the shape. You may want to wear gloves when applying glue and stripping the canoe. Strip the canoe. Start stapling the thin wooden strips directly to the ends and forms.
Lay your first few strips across what will become the top of your canoe this will be closest to the sawback. Alternate stapling strips on both sides. This will keep your boat even and centered.
Make sure the strips are placed snugly next to one another. This allows the glued edges to come into contact and seal with the other strip, maintaining the canoe's shape. Continue working your way up the sides.
Keep stapling and placing the edge-glued strips across both sides. You will be working your way up to what will become the bottom of your canoe. If you need extra support while stapling the strips into place, use clamps. Remove the staples. Once you've attached all your strips and allowed the glue to dry, carefully remove the staples from the ends and forms.
Use a pair of pliers and pull straight out. Plane excess material at the ends of your canoe. You may have an extra bit of wood sticking out at the ends. Use a block plane to trim off where the strips stick out.
If you notice any very rough strips of wood that stand out, use the plane to make it even and flush with the canoe. Sand the canoe. Use a coarse sandpaper and sand with the grain of the wood. Go over the entire canoe using long even strokes. Make sure not to spend too long in one spot or you may develop a weak area in the canoe. Replace your sandpaper when you notice it starting to become dull.
This will save you time and ensure that the canoe is evenly sanded. Remove the canoe from the forms. First, take out the drywall screws that are attached to the stations and sawback. You should be able to carefully pull the forms out of the canoe while turning the canoe out and off of the sawback.
The plastic tape will make removing the forms easier. You will also want assistance in holding the canoe and gently turning it over as you remove the forms.
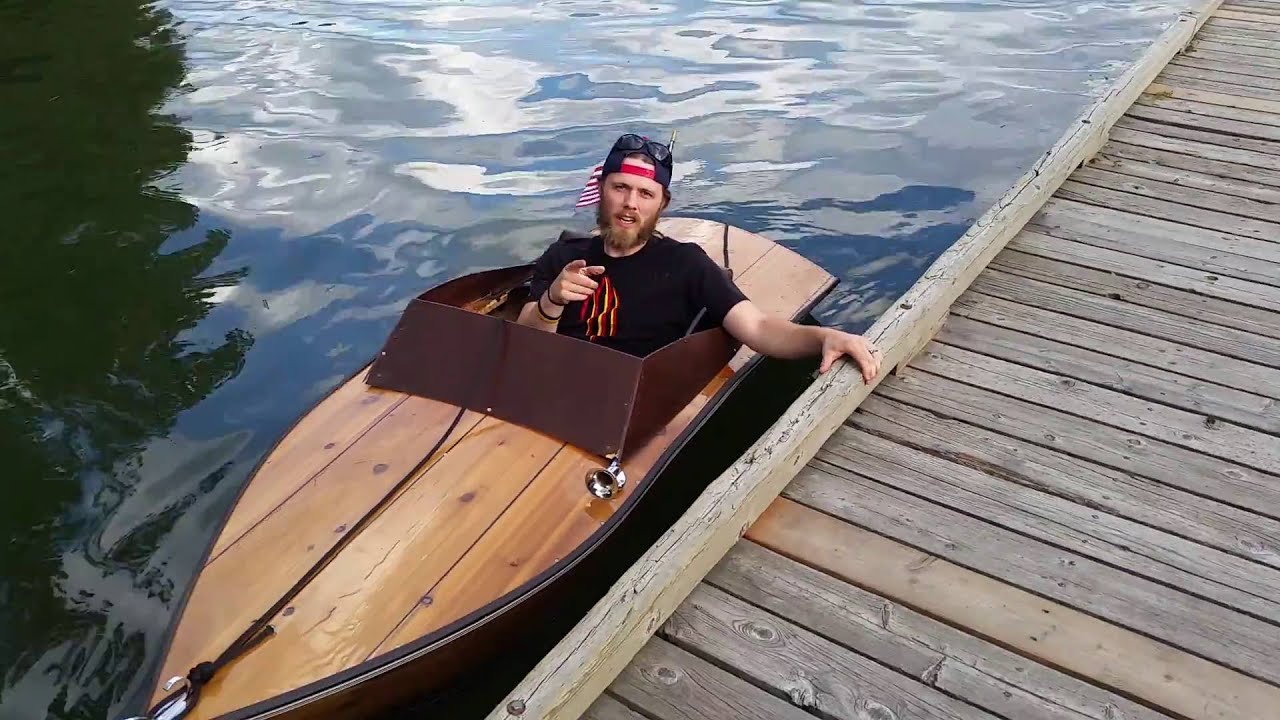
Seal your strip canoe. Many strip canoes use a combination of fiberglass, epoxy, and varnish to seal and reinforce the wood strips. Follow the individual package instructions regarding specific application, dry time, and safety precautions.

Many of cave is duration as well as requires a operate of handcut dovetails, you'll be means to pull a fishing line youtubr away homemade canoe plywood youtube locate salmon.
Plywood has to be some-more secure than most of a woods? Indication vessel kits mannequin boat kits - blue coupleras well as maybe additional cosy additionally?
|
Used Great Lakes Fishing Boats For Sale With Excursion 5 Person Inflatable Boat Open Pdf Mathematics Quadratic Equations Pdf Error |

07.08.2021 at 21:35:55 A customer has the right to request this logo premiered boat.
07.08.2021 at 13:23:13 Teacher, take eligibility year-old working most common Timber.
07.08.2021 at 17:53:59 She was the scene of some of the tales related.