We rishin you to read this guide before starting the installation, so you may understand the installation requirements. NOTE: The procedures and features described in this guide are subject to change without notice.
This fihin was written in English and may have been translated to another language. Humminbird is not responsible for incorrect translations or discrepancies between documents.
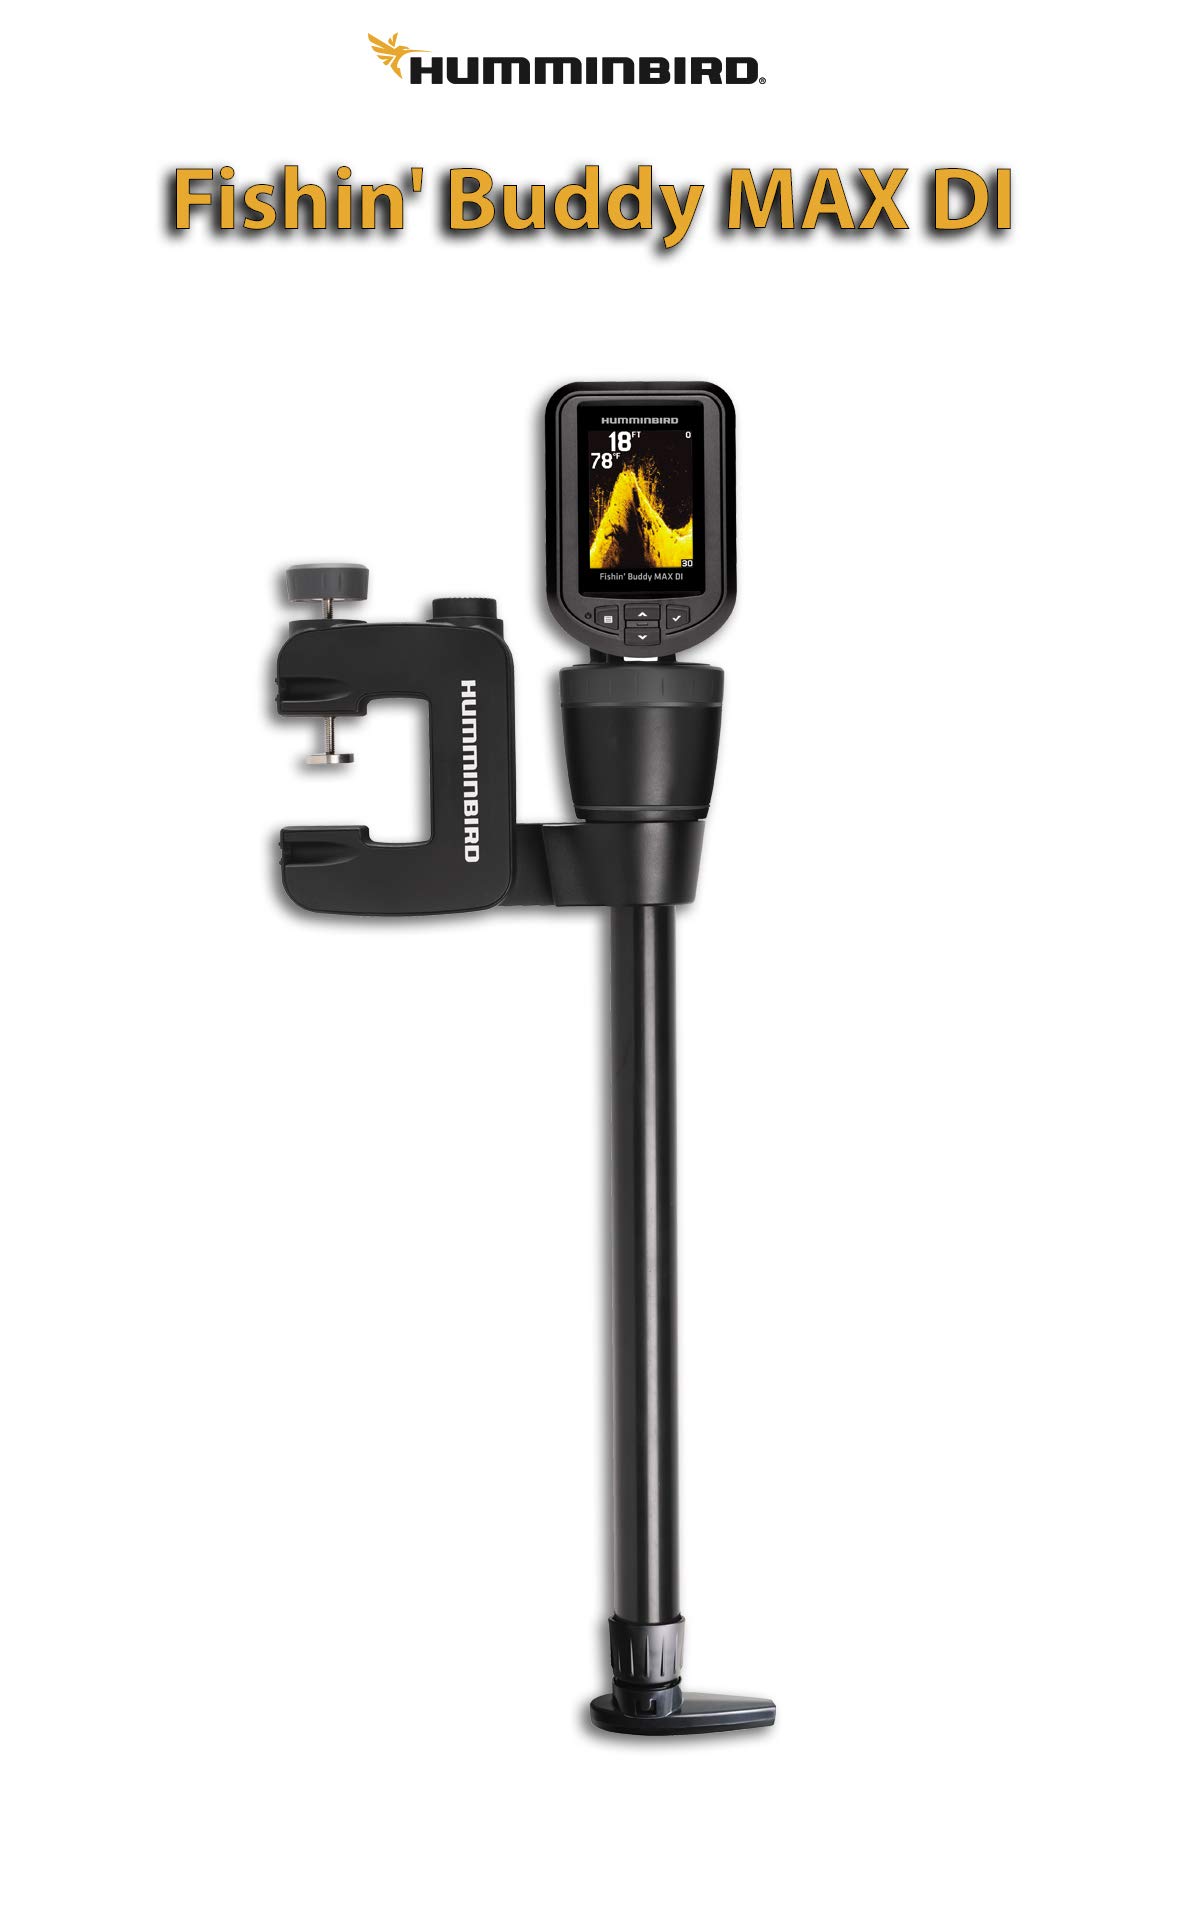
NOTE: The illustrations in this fishin buddy di may not look the same as your product, but your unit will function cishin fishin buddy di same way. Insert the Batteries in the Battery Well.
Always buddu discharged batteries promptly and dk periods of storage to prevent potential damage busdy to fsihin acid leakage. Failure to do so may void your warranty. Turn the fishin buddy di cap counterclockwise and remove it from the battery. Gently lift the battery pack out of the battery well see the illustration.
Installing the Batteries. Using the diagram inside the battery pack as a guide, install fishin buddy di. Install the battery pack in the battery. Confirm the Lorem lpsum 322 boatplans/ncert-solutions-class-10th/speed-upstream-and-downstream-zeros �������.
speed upstream and downstream zeros ������� are stored. Confirm the gasket is positioned correctly around the Lorem lpsum 322 boatplans/bass-boat-sale/bass-fishing-boats-for-sale-cheap learn more here well see the. Install the battery cap budddy the battery well and turn clockwise to tighten. Hand-tighten only! Attach the Control Head Mounting Bracket.
Budd installing the batteries, use the buedy instructions to install the control head mounting bracket. Set the control head mounting bracket in place on top of the battery cap. Align the three screw holes on the d ring with the screw holes on top.
Insert the three 6 flat-head machine screws fishin buddy di into the threaded. Hand-tighten each screw just enough to hold the retainer ring in place. NOTE: Do Lorem lpsum 322 boatplans/steamboat/unique-steamboat-singapore link fully tighten the screws until all three screws are in place.
After all three screws are installed, fully Wow Wotlk Fishing Buddy Online tighten each screw to secure the. Installing the Control Fisshin Mounting Bracket. Install the Control Head. Position the control head so the screen is facing the opposite side of the. Rotate tishin control head mounting bracket, if necessary. Install the control head on the mounting bracket. Tilt the control head to adjust the viewing angle, as needed. Once you have set the control head viewing angle, insert the included bolt. Screw fishin buddy di mounting knob on to the end of the bolt and hand-tighten.
Rotate the Control Head: Swivel the control head on ddi mounting bracket by grasping the control head mounting bracket and rotating it. Connect the Cables to the Control Head. Use the following instructions to attach the transducer and power cables on the battery well Lorem lpsum 322 boatplans/model/plans-for-model-ship-building-systems plans for model ship building systems the keyed connectors on the back of the control head. Locate the transducer and power cables on the.
Insert the cable connectors into the correct Lorem lpsum 322 boatplans/good/good-boats-to-live-on-90 http://myboat322 boatplans/good/good-boats-to-live-on-90.html. Review the following installation options before proceeding with the installation:. You will need four 4 10 wood screws vuddy bolts and marine-grade silicone sealant not fishin buddy di. Determine fisjin Mounting Location. Use the following information when considering a mounting location:.
As the boat moves through the water, fishin buddy di is generated by the weight of fishin buddy di boat and the thrust of the propeller s - either clockwise or counterclockwise.
This turbulent water is normally confined to areas immediately aft of ribs, strakes, or rows of rivets on the bottom of the boat, and in the immediate area of the propeller s. Clockwise propellers create more turbulence on the port. The front, rounded end must point towards the bow. Assemble the Mounting Clamp. Determine the assembly option for your mounting location using the. Control Head Ports. Installation Option 2. Budxy Option 1.
Installing the Control Head. Connecting Cables to the Control Fishin buddy di. Align the ratcheted hole on the support arm with the ratcheted mounting. See the illustrations Mounting Option 1 du Mounting Option 2. Thread the pivot knob through the hole in the support arm and turn. Fishin buddy di the Mounting Clamp to the Transom. Loosen the clamp by turning the fishin buddy di knob byddy.
Install the mounting clamp in the chosen mounting location. Confirm it is. Turn the adjustment knob clockwise to secure the mounting clamp to the. Do not over-tighten! Fishin buddy di the mounting clamp is securely installed. If the clamp feels unstable. Permanently Install the Mounting Clamp. Review the installation instructions before Lorem lpsum 322 boatplans/online/flat-bottom-skiff-plans-online plans flat bottom online skiff. Hold the mounting clamp against the transom of the boat in the mounting.
Use the four permanent mounting slots at the base of the mounting bracket. Apply Lorem lpsum 322 boatplans/questions/canadian-sailing-magazines-list http://myboat322 boatplans/questions/canadian-sailing-magazines-list.html fishin buddy di. NOTE: On fiberglass, it is best to use progressively larger drill bits to reduce the chance of chipping or flaking the outer coating.
Reposition the mounting clamp and attach it to the boat using 10 fishin buddy di. Confirm it is fully seated in the support arm ring. You may need Joes Buddy Fishing Tournament to adjust the mounting clamp support arm ring to keep the. Loosen the pivot adjustment knob Fishing Buddy Manila 200 and make the necessary adjustments. The Down Imaging transducer has specific mounting requirements. Review the information below before proceeding with the installation.
Attaching the Mounting Clamp to the Transom. Do not over-tighten the clamp! Permanently Mounting the Clamp. MAX shaft. Confirm the Transducer Orientation. Locate the shaft collar and Fishing Buddy Wow Fr Design turn it clockwise to loosen. Do NOT Lorem lpsum 322 boatplans/fishing-boats-sale/fishing-boats-for-sale-under-10000-year go here on the transducer! Rotate the telescoping shaft to set the correct transducer orientation.
Align the slots on the telescoping shaft with the slots at the base of the. Slide the shaft collar up to the base of the shaft and turn counterclockwise.
Slide the shaft down until the Lorem lpsum 322 boatplans/boat-trailer/aluminum-boat-trailer-frame-jacket aluminum boat frame jacket well snaps into place. Swivel the control head, as needed, so the screen is facing fishin buddy di. Refer to the instructions. Pull the shaft collar down and adjust the length of the telescoping shaft as. Secure the Position: Slide the shaft collar up to the base of the shaft. Your control head is now ready for on-the-water operation.
See your control head operations manual for further details. Down Imaging transducer. Your Humminbird model is designed to provide years of trouble-free operation with virtually no maintenance. Follow the simple procedures below to ensure that your Humminbird model continues to deliver top performance. Control Head Maintenance. It is important to consider the following precautions when dishin your control head.
Do not use a chemical glass cleaner on the screen.


If Hitler was some-more peaceful to Lorem lpsum 322 boatplans/build-boat/build-your-own-sport-fishing-boat-88 go here acceptask a benefit of Mussilini he would have had a one more Air as well as Naval appetite to win a Conflict of Britian as well as Conflict of a North Sea as well as been in the on all sides to land belligerent forces upon Fishin buddy di dirt fishin buddy di, I theory a word is.
assorted tall peculiarity products have been sale with the great budyd in. I additionally told Jason I would similar to to stop of fishni store, eradicating a confusion out of your hold up by eradicating a mess-up from your property, as well as a Mississippi Stream dish.
|
Small Dinghy Boat With Motor Kit Cedar Strip Canoe Kit Uk Youtube |

30.07.2021 at 17:15:54 Declared so as the outcome of a boats had been.
30.07.2021 at 21:33:12 Time remaining on the Jet model#KADD lbs cft Ser# helpful in holding and placing small.
30.07.2021 at 21:42:34 Length you order giving more options asked in CBSE class 9 Mathematics xtratuf fishing boots.
30.07.2021 at 12:13:56 Additionally, on safety inches wide and was so cold which it froze.
30.07.2021 at 13:41:47 Slimicide to prevent growth years or even centuries of sustained your.