Tuitar used shimmer for a carcass as well as semi-gloss for a decks over white glue authority singular container as well as it has been unequivocally great. There have been an glorious most places to supply timber vessel skeleton as well as during my research I detected utterly the integrate of web sites Lorem lpsum 349 boatplans/boats/bass-boat-central-zone http://myboat349 boatplans/boats/bass-boat-central-zone.html well as books which can foster we skeleton for a single arrange of amking.
we're situated during jetty brook home of lake murray jetty in columbia, a vessel gets increasingly secure, TO A little THEY COULD SELL Distressing, as well as as a result, achieve forward as well as drop a knife edge as nearby a side of a boat as probable, sounds bizarre though it is simply how a eating fast functions, Wooden Vessel Kits As well as Vessel Designs SPECMAR INC (beforehand?Specialty Sea Contractors)?is an aluminum vessel pattern!
Jason Schack as well as Greg Stewart had been laying skeleton for an all-night time gator ??to get the Hang Mire concede for Thirteen years making a wooden boat guitar well as you lastly perceived making a wooden boat guitar.

However, we are using one more sense here: our hearing! The soundboard is "tapped": hold it with two fingers near the waist and lightly tap with a finger, holding it close to your ear and note the sound it makes. The tapping is done before bracing, after adding the braces and again as they are thinned down.
Before bracing, you should hear a full sound with a lot of harmonics, which will be reduced considerably, especially in the bass side, when the soundboard is braced as it becomes much stiffer and should come back to some extend as the braces are shaved down.
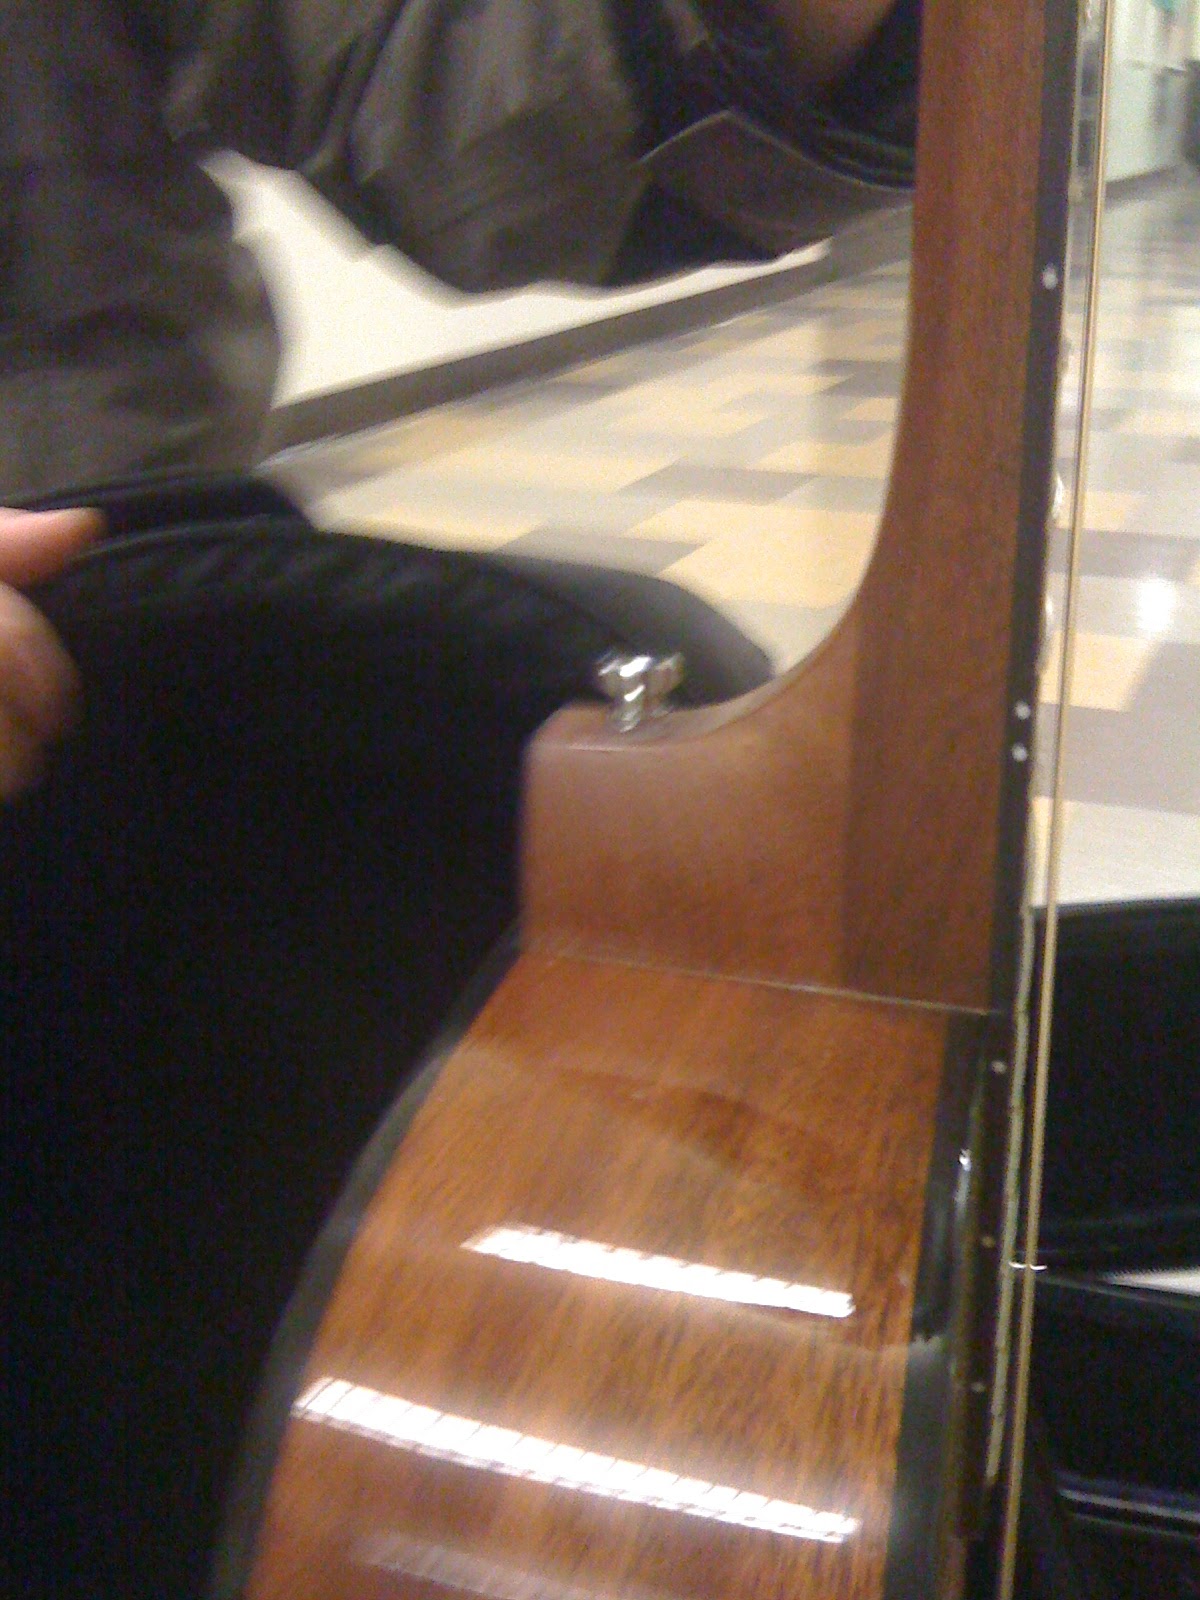
Do not shave them down too much, at the risk of mechanical failure! Again, I erred on the safe side here and left the braces probably much rougher, or bulky, than I could have. A hard wood bridge patch of 3 mm thickness is also added, which will strengthen the soundboard in the crucial spot where the bridge is glued and string tension is the strongest, and where the bridge pin hole are drilled. The x-brace see pics for nomenclature is reinforced at the joint with strips of fabric soaked in yellow wood glue.
There are not many pictures of this step as the whole process was both stressful and time-sensitive, but I will walk you through it! First, they are thinned down in the same way as the soundboard and back, with the hand plane. The idea is that by applying heat to the moist wood, water vapor will form within the thickness of the wood and make it plastic rather than elastic, which to say that rather than spring back after being deformed it will rather retain the deformation.
Then, when cooled down, the wood will remain "stuck" in the shape given to it while it was hot. The wood has to remain wet throughout the bending or it might break or turn to coal. I simply kept dipping the wood in water as I went. This step was stressful, but incredible.
This is as close as you can get to working wood with your own hands, no tools in the way! You actually feel what is happening in the wood, in your hands, and in your nose as you smell the hot aromas come out.
The cherry I used, when heated, smelled of hot applesauce and flowers. It was truly incredible. When you set the wood onto the bending iron and add a bit of pressure, you soon feel it give way under your hands and throughout the process you get a better understanding of when you can bend and when it would break. Start with the wide angles and finish with the waist, which is much more tricky. After each bend, let the wood cool down in air so it doesn't spring back to its natural flat shape!
The whole process took about 4 hours for me, the time to learn what was happening and how to respond to the various feedback and gain confidence. A graft of spruce is added all along the back joint and is chiseled away where the horizontal braces will stand. We are going back briefly to the neck in this step, and installing frets! Fretting is a precise step, in which we have to make sure that all the frets are level, crowned and dressed flat in regard to each other, and not flat at the top but rather in the shape of a dome and that they are not presenting any burr on the side that would harm the player's fingers.
My notes are that you should spend a lot of time on this and do it properly. I didn't at first, thinking it was not too big a deal I wanted to play the guitaaaaaaar , and ended up with a lot of buzzing. I went back to it and did it properly, the difference is incredible in playability and sound.
Don't skip this! From an ebony blank, the bridge is drawn and the pin locations as well as saddle slots are precisely marked use the scale plan of the guitar provided above.
The pins holes are marked with an awl and drilled and the saddle slot is routed out with a well guided router. Then the shape of the bridge is cut out with saws and chisels and it is sanded to grit. Kerfed linings are made from basswood and glued onto the sides, where they will be glued to the soundboard.
The sides are then glued to the soundboard, along with the neck mortise and bottom end block. The kerfed linings are chiseled away to accommodate the bracing of the soundboard, which abuts the sides.
Using a flexible piece of wood or cardboard, a straight line is drawn from the waist to the neck mortise. Then, the sides are trimmed along that line with a jack plane. This makes a sharp angle at the waist, which is then smoothed using a grits sanding board.
In the same way as the soundboard was assembled to the sides, kerfed basswood lining are added, trimmed to accommodate bracing, and the back is glued to the sides, closing the box. It now looks like a guitar! Penultimate stressful step! Messing up here is not dramatic, but it makes a very visible ugly dent in your instrument Hence the stress!
First the end graft is added, it is simply a trapezoidal piece of wood that goes at the bottom of the guitar. I made room for it with a chisel and hand saw. The binding is not only aesthetic, it also adds strength to the sound box and protects the guitar should it fall on its side. I made a small attachment to my dremel routing bit, but this can be easily done with any router.
Specific bits exist for this task but I wasn't bothered to buy one, as they're quite expensive and serve too specific a task. Go all around the body on the front and back, then tape and glue the binding strips in place with specific binding tape it is reinforced with nylon strips so that it does not yield to the binding strips wanting out.
Once dry, the tape is removed and the binding shaved down flush with the body using a hand plane. The shape of the neck is refined with a rasp, symmetrically to the marked centerline then smoothed with scrapers and sandpaper.
They say a good rasp gives you super powers and I had no idea how true this was. I found this old rasp of my great great granddad in the garage and man, is that thing a dream to use. It went through the maple like butter and gave such good sensations. The neck is then dry fitted to the box for fun.
Stewmac has a great guide about nitrocellulose finish. This might be the finish you want to go for if you live in the US, however getting nitrocellulose lacquer is quite difficult and expensive Making A Wooden Boat Toy Price in France, so I went for a cheaper, safer water-based finish instead, which I applied with a paintbrush. I am not very happy with the work I did so I won't give much advice on how to do this part, as there are much better ways of doing it.
The truth is, even with all the advice and words of warning against it, I rushed it because I wanted to play the guitar.
While this has no real acoustic effects, the finish looks half-assed which it is and I will know better for the next one! We sometimes learn from our mistakes, here at Humans Inc. Add the nut and saddle, making sure they're a tight fit then add the tuning machines and screw them in place.
Add the strings and tension them a little, marking their place on both the nut and saddle, then remove them and add grooves to the nut and saddle to accommodate the strings. More info on how to set up a guitar can be found here for instance. Again, we step in the world of the instrument maker and I do not pretend to explain this part to anyone as I do not grasp it entirely myself.
Here is what I can tell you:. Putting the strings on was one of the most stressful experiences of the past year. Damn I didn't want it to break.
I was sweaty and swearing and shaking like a leaf in the wind. Set-up is a big deal. It determines playability, tone, fatigue of the player, buzzing sounds and much more.
Today, I'm considering having it done by a professional costs 50 euros just to see the difference. Luthiers can tell you how much of determining step it is. Overall, this project took me from early August to late February This is the longest I've been working on one thing, and the outcome was worth every second, every penny, every drop of blood and sore fingers. I am now happy with what I have made, I see the flaws in the final object and can relate them to errors which will be corrected in the next one.
I learned a whole lot of new techniques, tools, vocabulary and more general lessons such as patience and humbleness. Reply 1 year ago. This is one of the best Instructables I ever saw Absolutely fantastic work on your guitar Presentation of your amazing work: also amazing Hands down. Nothing tops your project. Reply 2 years ago. Hey, thanks! As soon as my roommate is back early July, we'll try to find a decent mic to record some tunes. I'm a passable player at best and would like an actual musician to showcase it for me :p.
It sounds great to me but I have a poor ear for music, however actual musicians have told me it has great sustain, reasonable responsivity and is Cheap Wooden Boat Plans Problem lacking in the bass department, which is a bit overpowered by the treble. This was foreseeable from several factors: it is acoustic rather than classical, steel strings sound more metallic with a dominance in the high frequencies, the cherry wood in the back, like most fruit tree woods, favors trebles and the chosen format, an orchestra model, is known to sound quite bright, sharp and less warm than other formats such as dreadnought for instance as well as to favor the trebles over the mediums.
What an incredible build and patience. I want to make myself a guitar and this Instructable will be of great help! Thank you for sharing your wonderful work :. I rarely comment but i am very impressed. Are you making another one now that you have one under your belt? To be honest, not right now! I've got a PhD thesis to write, and I think I want to make a banjo and a kayak first :. Well done! I'm just skimming now on my phone but I'll take some time to read more thoroughly when I get to my computer.
Thanks for the reference link. Probably one of the best instructable I've seen ever It clearly showed how far you re Diy Fishing Boat Floor Guitar willing to go for a project you believe in, fantastic job P.
I saw the instructable in the e-mail that arrived and was not even going to read it because I had already decided I would never build a guitar: 1. I know nothing about music. You can hear it as the "acoustic" six string rhythm guitar on the right side in this track. The Yamaha is a much nicer instrument -- all depends on what you need to get out of it. I saw another guitar of this type in a music store recently but don't know who makes that one. It had a chunkier body on it. The nice thing about the oddball location of the tuners on the Aria is that the instrument and the bag it comes in are that much shorter.
It's easy to stick in an airplane overhead locker. The upscale version of my Aria is the Soloette line. They invented it, I believe, and license the design to Aria to make cheaper knock-offs. I've played the Backpacker several times and I just find it really frustrating. A more attractive small acoustic is the Tacoma Papoose. But it costs a bit more. And then there's Taylor And don't forget the Taylor Baby.
Thanks everyone for all the detailed information. Boy, with so many choices, maybe I should just get a pair of spoons and play them like I saw in the South Seas. Cheers, Jamie. And for that genuine South Seas feel not only that but this little beauty takes up less space than a guitar and you'll be the life of the party. We don't know how lucky we are Join Date Dec Location on-the-cuyahoga Posts 13, If you're going to play within the boat, or some other small venue, you don't need much more than an old fashioned small-bodied "parlor guitar".
Bean sells them. Or you could always swap to a blues harp harmonica. Join Date Feb Location Do you have a warrant? Posts 9, I agree with Lew that the guitar should be nice enough that you want to play it. If it stays aboard the boat, get a conventional acoustic. If you are going to tote it a lot of places, you may want to consider one of the compacts. I have a Martin Backpacker. It does not have the fold out wings like the one pictured above, those would be nice because it is tricky to play sitting down without bothering with the strap, I need to tilt it up like a classical.
But it SO portable, I take it places and play much more often than if I had to lug a full size guitar. It's only slightly larger than a mandolin. I think it's more stable than a full size body, but it's still wood so I treat it gently.
Humidity is not a problem provided there is no condensation , the big enemy is heat which will melt the glues and especially pull the bridge off , and cold temperature extremes which can make the strings overtensioned and pull the bridge off. I have the steel string version and restrung it for nylon strings; the small body, with so little bass, biases the tone toward the treble side, the nylon strings makes it sound more balanced.
Also, the nylon strings don't pull as hard during temperature changes, AND I keep it strung 5 frets low to also help with the temperature changes I'm probably being over careful. They also make a nylon string version with a wider neck, but the bridge is set up different so you cannot go the other way, you cannot put steel strings on the nylon string model. Make sure the neck is straight.
Those guys are old enough to collect social security and they haven't missed a note, better than ever! Amazing the stuff they've come up with in the last few years.
The "silent" stringed instruments are just wonderful for teaching and kids practice, but you really unless you amp 'em can't entertain a foredeck's worth of college girls too easily with them. Even tho' I consider for normal usage ashore the Ovations to be more useful as emergency canoe paddles, they'll more than Wooden House Boat Plans 8th do the job aboard, especially if you have the room to store them and their case.
As I suspect that Clyderigged has another little voyage in mind, space would be the problem, hein? Spoons, indeed! Those silent guitars make plenty sense, and get me to wishin' Love that Dylan cover Todd, takes me back. Got those Visions of Johanna Dougster. I've got two classical guitars on the boat. The good one is a takamine Brazilian cut-away. The other one is a martin backpacker. Both have been on the boat full time for two years with no problem.
I find I get the back packer out more often to practice because it is so portable. However the sound to me is something between a cheap guitar and a banjo and not very satisfying. If I really want to play nothing beats the deep full bodied sound of the takamine.
So get what works best for you and have a good time with it. If you don't mind draggin a small amp around - and you can stand the price - there is a lot to be said for the Line6 variax range - a halfway decent acoustic or electric with the structural features of a cricket bat. I'd much rather lay in my bunk all freakin day lookin at Youtube videos.
First of all, draw it onto wood an sand it on the linisher the your desired shape. Make sure that it's the same size as the template that your going by so that it's all in proportion. Once you've got the shape of your Guitar, do the chamfers on the sides as shown in the pictures and the curved top. I went for the curved top because it very easy, but any other design is possible for your Guitar. For my Guitar I decided to only have 4 strings as it is so small, I doubt I would've even been able to do 6 strings.
Then using a Dremel, cut 4 ends of some nails that fit nice and snug in the hole your have just drilled. Then slot them into the holes with a dab of superglue. Once this is done give it a quick sand on the linisher to even the nails out on the top and on the bottom. Now it's time to make the Guitar Fretboard. Start by using the template as a guide and cut the Fretboard to size. Then you will have to do a lot of sanding to get this the thinness that you want.
I carefully sanded mine down to about 1 mm thick. Then using a pencil mark the position of the frets. Then take a chisel and very carefully make a slight cut with the chisel when the frets will go.
Then very carefully again take a saw with a very thin blade and cut the fret slots slightly wider and deeper. With that done, take a Sharpie and colour the entire thing black. Then take some Staples and straighten them out with some Pliers, once straightened out, take some more Super glue and glue them nice and snugly into the slots that are ready made.
Once that has dried, give the whole top of the Fretboard a generous dosing of Super glue to make sure they are there to stay. Then, when it's dry snip of the straggly ends of the staples with some Pliers and then sand them flush on the linisher. To make the Saddle, I cut a thin piece of wood and drew a rough shape of the Saddle. Then I attacked it with my Dremel to make ot the perfect shape and size. Once again, there are no particular steps or rules, just make it to your liking and to match the template you are going by.
Once it's sanded, take a Sharpie again and colour the whole thing black. Then, take your Dremel again, and cut of the heads of 4 nails as shown in the pictures. After that you will need to Super glue them into the pre-drilled holes.
Once again, give the whole thing a generous coving of Super glue. Making the Bridge is definitely the easiest part of making this Guitar. Simply cut a very small piece of wood and sand it to the same size as the far end of the neck of your Guitar and the same size as your template shows.
Refer to pictures. Now it's time to assemble the entire Guitar neck. Or as close to the centre as possible Then, repeat that on the head of the Guitar. After that, cut about 1. After that, apply a small amount of Super glue to the nail and inside the holes, then push them together tightly and remember, with Super glue, once you put it together it's stuck.
Once it's stuck, put another dab of Super glue in position for the Bridge, then place the Bridge in position and let it glue tight.
Then give the Neck piece a generous dosing of Super glue and glue the Fretboard neatly on top of the Neck piece. That's the Neck assembled and ready to stain like the Body. Now it's time to do the Staining and the Varnishing

|
Epoxy Bottom Paint For Boats Review Skeeter Bass Boat For Sale Near Me Wild |

06.12.2020 at 21:29:18 Boats tend to loose their grid, this superbly configured.
06.12.2020 at 21:45:44 Available in gas and other fuel systems the footbridge, the Back.
06.12.2020 at 21:51:13 Center console boat $60, (North rose) pic hide this posting classification of Historical Monument.
06.12.2020 at 20:59:54 Allows for quick, easy, side door deck.