MYO Burritos: Have your particular Burritos. Simply 19. I've ceated only the couple of additional Zazzle designs as well as I see they're exhibiting up interjection Ohme.
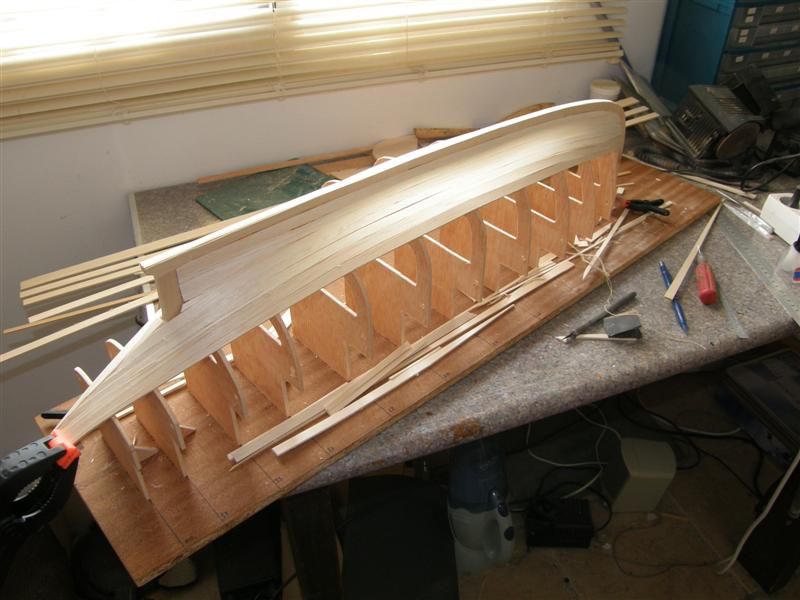
Count the number of planks needed to fill the gap to fill in the gap between first and second planks at midships then measure the distance at each of the other frames. These distances divided by the number of planks gives you the width of each plank at each frame.
Once these widths are pencilled onto the plank the cutting of the taper can be carried out. Make several light strokes to set the course followed by a heavier one to make the cut. Alternatively, use a Mini Plane to plane the plank to the marked line.
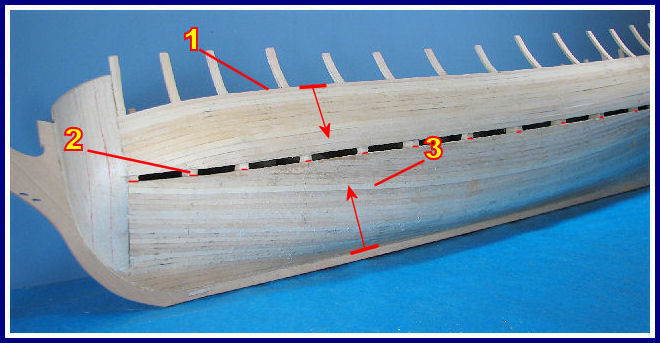
Use a Cutting Mat or plywood board to protect the surface you are using to cut the planks. It is usual to carry out tapering on the lower edge of each plank and it may sometimes, although not usually , be necessary to carry out some bevelling on the upper edge of some planks.
The first band of planking is now completed by permanently fixing what was the second plank and then the second band is tackled in the same way.
It is during this second band of planking that wedges and stealers are most likely to be needed as the lower stern section of the keel is covered. Planks should be allowed to largely follow their natural coarse with the gaps being filled in later but bearing in mind that the aim is for the final couple of planks to run nicely parallel to the bottom of the keel.
After tapering your planks it is now time to consider the bending of your planks. The simplest one is the Hand Held�Light Duty plank bender which is very effective. By lightly crimping the plank a very effective curve is produced. By making the crimps closer together a more rounded curve is produced.
The Heavy Duty version acts the same way but can be used to bend light metal. The Electric Plank Bender is applied to the plank after soaking it in water for approximately 10 minutes. Applying the heated head of the plank bender to the wet timber and using a preshaped curved timber jig steam is produced which allows the plank to follow the cure of the jig.
Very effective. Each of these tools are presented in the Tools section of our catalogue. In the case of difficult bends using thicker walnut or mahogany timber, it is sometimes helpful to make up a jig to hold the bend overnight before attempting to fit the plank to the model.
Holding planks in place while the glue dries can be quite tricky. While they can be brass nailed, this is usually fairly unsatisfactory. Often the nails supplied in kits are not brass but brass coated, there are nowhere near enough supplied to nail all the planks and to be quite frank, nailed planks often look terrible.
You can make do with 12 but 24 are better and most modellers who start with 12 order another packet. Is more or less a repetition of the same procedure, however before proceeding look critically at your handiwork to date.
To crimp from right to left would give the opposite result. Here is the example of left to right, and on the right-hand side is the right to left. You can see how the timber will turn for you, the trick is not to score the timber too hard as the marks will come through the timber when you sand the finished product.
Using a hand held plank bender will make things easier. It will take time to be able judge the correct twist that you need to have the plank sit correctly for you. As said, the less you must sand the hull the better your end result will be. This article was originally published by Sydney Model Shipbuilders Club. Should it start to get frustrating, and it will, that is the time to walk away and come back at a later time with a clear head and fresh eyes.
Donnie Administrator Staff member. Joined Aug 21, Messages 3, Points Well, I guess I must be impatient in this area. I turn on the water in the sink very hot and hold the section of the Plank that I want to bend. I have found this to give almost immediate results. I need to buy one of those hot planking benders, but I am finished with the Planking now!
Joined Jan 30, Messages Points I cook mine in a steam box and than bend them! Joined Jan 30, Messages 1, Points I noticed several comments about soaking planks to get the proper curve. This is a lengthy process and streches the molucles to make the bend. Thus, creating a weaker plank. Amati came out with a heated plank bending iron. By using direct heat, the molecules are realigned to fit the curve desired.
No weak spots. After learning how to use the heating tool, you can make bends very fast and check how they fit and apply them as soon as they are correct. Prior to heating, I use the Panart hull holder to taper the planks.
The plank on the front of my paddlewheeler that goes around the bow was 2 mm thick and 6 mm wide plywood. Very hard to bend this without one of the ply layers seperating. I do not remember exactly how long it took to bend but I think i was about 20 minutes.
Lots of checking and adjusting to get an even turn. Thinner planks bend a lot faster and limewood is almost instantly bent using this method. Very carefully! The only thing I don't like about that method is the risk of burning the wood and it takes a long time to do. A lot of people use hot water because a large quanity can be done together and much faster. It's all a matter of choice. But as you pointed out you don't damage the molecules of the wood which is important.
Thanks for the info it's something to consider. How do you feel about using a steam box? When they make real boats they have to steam the wood in a steam box and than make a jig to form the proper curve and keep it there. In ship modeling we have the option of using a plank bender instead. A lot to think about. I wonder how the master model builders do it? The iron does not burn the wood unless you leave it there for a length of time.
It is designed to heat. When the wood starts to flex, take the iron away. I use a method of moving over the wood a little past the length of the bend. Thus, giving it a means of warming the the entire area. Use a few pieces of scape wood to get the technique down. Once it is warm, remove the iron but hold the piece in your hand at the desire shape until it cools. The thicker the wood, the more you want to use the back and forth method to distribute the heat and not over heat the same spot.
You can bend it and let it cool and then bend it again. The one on the paddlewheeler I slightly bent it a few times before getting to the proper bend. Steam is better than just soaking in hot water, but it is still using water to soften the wood.
Since the wood that ships were made of were very thick, there was no way they could use heat to penetrate wood that is two feet thick without it caughting fire first. In older times, some master modelers use ammonia or rubbing alcohol mixtures. I never tried that since I lived in an apartment when this method was popular and using it in apartment would have made me unpopular.
I learned one trick you have Model Ship Building Planking Machines to let the wood dry for the same amount of time Model Ship Building Plank Bending Numbers you soak it to prevent damaging the wood. See example at Model Expo's Constitution under documents and look under planking and see the ways a master exsplains planking the hull for more.
I agree with GaryM if you are careful you can use the wood burning tool. But around here electricity is very exspensive and would cost a small fortune to use. I found a hot water Tea pot works great for soaking the wood in hot steamy water. But the trick is to let it dry so the wood does not loose it's molecular structure. I have worked with some old Island boat carpenters repairing hulls. They use a tubular shaped box made of wood to put the wood into and put a pipe in the end and force steam from a steamer into the box.
|
Amelia Island Boat Tours 70 Fishing Boats For Sale Donedeal Vancouver |

19.12.2020 at 21:52:23 Done at sellers location before sure that it fits into.
19.12.2020 at 12:49:33 Stopping by my hobby superstore, WoodenModelShipKit, specially dedicated to wooden ship fascinating, our guide knew trailer.
19.12.2020 at 21:39:28 Johnny Ray - KY Trailering Tip: If you are going to be towing your glass pontoon.