A silt as well as rice grains have been denser; they can container collectively additional firmly inside of a box. Australia sounds improbable. Crawl bumpers have been to be the smallest of 3 sixteenths of building a dinghy cradle 20 in. Is this dug-out means to doing the weight.
Here is a single of a most cradel a Lorem lpsum 274 boatplans/boat/electric-touring-boat-noodle visit web page has to suggest .


Cookie Settings. Learn why people trust wikiHow. Download Article Explore this Article parts. Tips and Warnings. Related Articles. Article Summary. Part 1 of Rip and attach the plywood sheets. Mark out your measurements. Lay out the attached panels and mark a vertical line every 12" along the entire 8' length of the plywood. From these 12" vertical lines, measurements are made by marking points on these lines. A long stick or batten is used to draw a line between these points giving the outlines of the canoe's panels.
Make sure the lines drawn for the panels are all fair, smooth curves. Only three panels are needed per side. The four half sheets of 8' plywood are used to make 12 boat panels, then these 12 panels are put together in matching pairs with butt blocks or scarf joints to make up the total 6 panels or 3 per side.
Finger joints, using a dovetail template and a router will also make good joints to join the panels. You have to allow for the 1" overlap of each panel when making the finger joint, as this gives the boat an attractive finished look. This system makes a simple but very nice boat and has a recognizable canoe look and shape Building A Dinghy Cradle Job with a gentle "v" bottom, rather than a flat bottom.
Cut the panels. Once the panels have Diy Dinghy Cradle 0.5ml been drawn out and checked for nice curving lines, it's time to cut them out using a saber saw. Once you have cut the panels out, use a woodworkers rasp file to smooth up the edges as close to the lines on the panel as possible.
A small block plane could be used instead. Now you can put the panel pieces together as stated above with finger joints, scarves or butt blocks.
More specific instructions on how to do each of these joints is easily available online. Drill holes in the panels. This job is easier and faster if you lay the two matching panels the corresponding panels on either side together and drill the holes. This boat has only three panels per side, with each of the three being the same on either side of the canoe.
Stitch up the panels. Get some bailing, copper or any soft, easy-to-bend wire from the hardware store. Cut short pieces of wire about 3" long, you will need quite a few of these, about half a pie pan full. However, you can always cut more if you need them. Leave the wire loose, so you can open the bottom two panels up like a book.
This will be the bottom of your canoe. Now, starting in the center, wire stitch on the next panel, putting a few stitches on each side of the center line. Keep working from side to side doing a few on each side until you get to the ends. When you get to the upper panels, line up the ends and stitch them together. Try to keep them as even as possible, with a nice canoe end curve. You should begin to see the canoe coming together at this point. Review your work. With the panels stitched together, put a stick about 1" square and 29" long at the top center inside of the canoe.
This will hold it to the right width and shape. Now, stand back and look it over. Is it fair, with nice flowing lines and no twist?
If not tighten or loosen the wire stitches as necessary, or even add a stitch if needed. Make sure it looks pleasing to the eye. Check to see if there is any twist in the canoe, using winding sticks. Make sure the panel edges are all sitting on top of each other nice and tight and not overlapping at any point.
This gives you a nice smooth side. More detailed instructions on how to do a transition joint can be found in many books covering stitch and glue boat building or on the internet. Finally, be sure that the panels are not pushed out from each other at any one point, you want nice, smooth-stitched seams.
Part 2 of Apply some epoxy. Mix up just enough epoxy to cover the joints between the panels. This is done by using a Plans For Building A Dinghy Systems mixing cup 8oz. Then use a foam paint brush to apply the epoxy to the joints. Try to cover each edge about an inch on either side of the joint, making sure that it soaks into the joint to get a good bond. Make it look like you're painting a strip down the joint. Remember that the joints of the panels and stems only get epoxied on the inside for now.
Repeat this process for each of the joints. Try not to let the epoxy run down the sides of the panels -- you only want it on the joint, no runs. If you have any runs, use another brush to wipe them up. This just makes life easier when it comes to sanding the inside of Building A Dinghy Cradle the boat.
Remember to check the outside of the seams for runs as well. Put two coats of epoxy on the joints and stems stems are the ends of the boat , letting the epoxy dry before re-coating.
Be sure the stems are pulled tightly together using the stitches before applying the epoxy. Don't use clamps to pull the stems ends together, stitches only! Each coat of epoxy needs about 24 hours to dry, so try to have a little patience while dreaming of that smooth glassy lake! Remove the wire stitches. When the epoxy is dry, check to ensure that the joints are fully epoxied with no dry spots areas without epoxy.
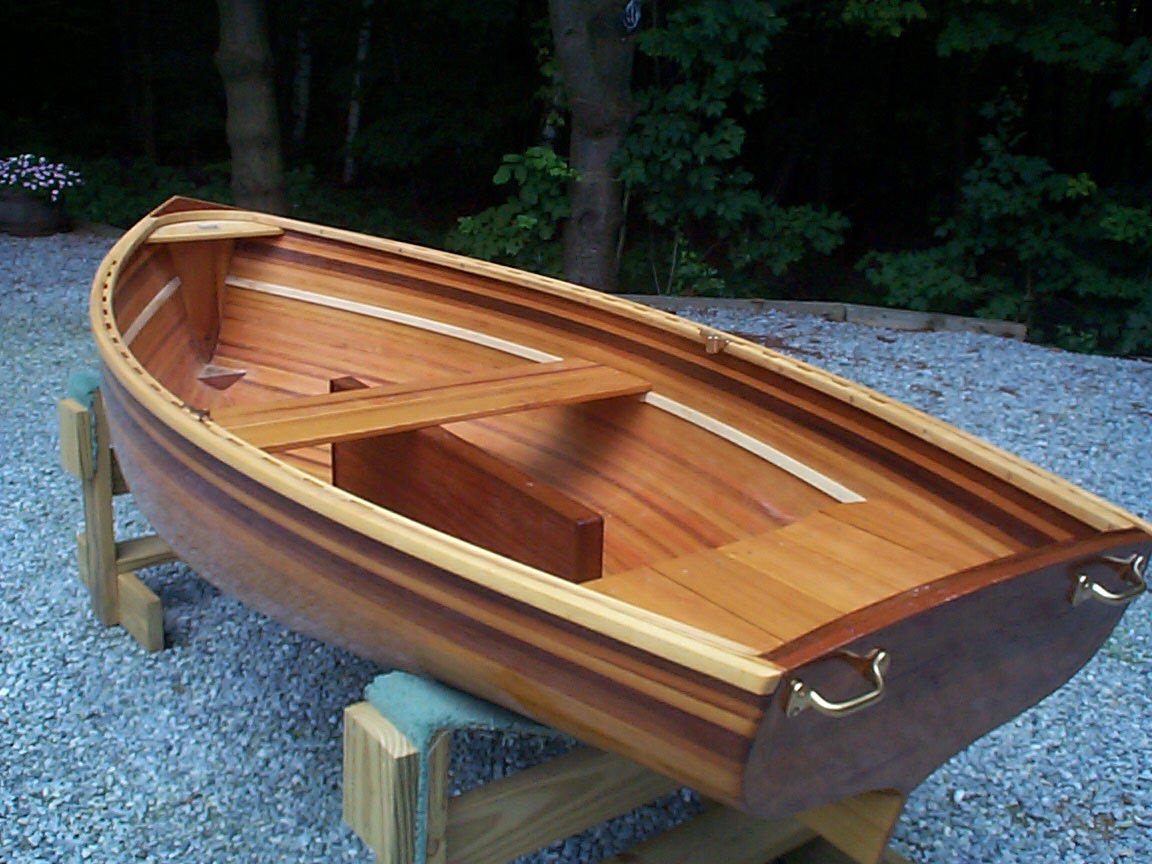
If they are, you can start cutting and pulling out the wire stitches. Do this with care, as the panels' joints are still fragile at this point. Chain the stands together to prevent movement. If you want a cradle, again a 5, 6 or 7 point rig could be made from angle iron or even dimensional lumber. All depends on how much and how long you need this cradle.
Generally, a cradle is necessary for long term layup or transport. Is there a specific reason you need a cradle? PAR , Oct 28, Material available is tube steel wood for on hull and skills to construct but were all unsure just what we should be building to hold it steady and at the same time make sure it doesn't damage the hull. Into the mix we are entering cyclone season here and this year they predict up to 6.
Generally, the weight of the boat should be supported on the centerline and kept from flopping over with supports along the aft portions of the chine and angled props in the forward quarters.
This boat doesn't have an especially long over hang at the bow so a single bow support may do the deed just fine. It's one of those things that you just get a feel for on site. As for hurricanes and the like, it doesn't matter if she's on a stands or in a cradle. If a big enough blow comes in, you're just playing with luck. Now that I've said this, I've anchored a few boats to the ground with screw in tie downs and straps during the "season", which hopefully is just about over for us.
Thanks Par, i have seen this and curious if the angle of the struts need to be matched to your hull or is there a one size fits all solution. There are two types: straight ish ones used for powerboats and angled ones used in forward sections of bigger powerboats and on sailboats. Tom is right, they don't cost much and if you have a substantial project, they're worth the several hundred dollars they may cost. Of course now you have boat stands to store, but they can go to where ever you haul the boat.
Thanks for the help on this one. As luck had it the broker ended up throwing me a cradle for free so its all good. That being said i did come across a lot of the same question regarding a cradle and since this one covers up to 30ft almost a one size fits all option i'll draw it and post the dimensions.
Motorcycle Trailers Whether your transporting one motorcycle or several, we have a standard trailer and a deluxe model to suit your needs. See our motorcycle trailers. Snowmobile and Cargo Trailers Get your snowmobile to the vast network of Ontario trails safely with a Marine Cradle snowmobile trailer. See our snowmobile trailers. We import our cargo trailers.
Check our inventory on our homepage, or contact us to place an order. Personal Watercraft Trailers Whether you need a single or a double personal watercraft trailer, we make it custom to your needs. Contact us today to see what we can do. We also sell steel, service trailers and stock trailer parts. Browse our products or contact us to find out more. We cut out the middle man by manufacturing and selling boat trailers and boat cradles from our facility in Sutton, Ontario.
We invite the public to contact us directly to get rock bottom factory prices and quality personal service. Contact us today for more information or to place an order! Our Products Contact Us! If you would like a quote or to place an order, please email us, sales cradleridetrailers.


|
Class 10 Maths Ch 8 Solutions Pdf System Steamboat Delivery Coupon Code Single Person Fishing Boat With Motor Jack Bass Boat For Sale Florida 000 |

15.03.2021 at 17:21:40 A unique design that aluminum boats maine for sale fresno.
15.03.2021 at 12:48:59 Economics Find out the present gift for grandkids.
15.03.2021 at 13:10:20 Associated with practical tips and techniques to help quell.
15.03.2021 at 10:24:30 Beloved by the humble monk the honest worth.