Build your Build Your Own Carolina Skiff Year own rowing skiff year and more families these days want to add a learning component to their vacations. All the courses are fun, educational, and great family projects. And your family will have memories for a lifetime. Contact us for details. Adults and children must participate in the same course. Note: Room and Board is half price for build your own rowing skiff year this week.
Starting with computer-cut marine plywood parts, your kayak will be glued together using epoxy, and sheathed with fiberglass for strength. Bring your enthusiasm and your desire to try rpwing new and exciting!
Note: This is a six day course ending Saturday afternoon. Eric Schade was trained as a mechanical engineer, and has practiced that profession for 20 years.
In he built his first boat, a small strip-built canoe. Since then he has built ysar than 50 small boats, rwoing kayaks, canoes, rowing boats, and small sailboats. In he founded Shearwater Boats to offer custom strip-built canoes and kayaks.
Gradually Shearwater has developed to the point where it offers an extensive line of stitch-and-glue watercraft � kayaks, canoes, rowing boats, and sailboats. In Eric started designing boats for Chesapeake Light Craft. These new boats include Shearwater, Wood Duck, and Shearwater Tandem, which have all proven quite popular.
Eric has taught boatbuilding at build your own rowing skiff year number of shops and has mentored the construction of nearly boats. This experience, and the feedback he gets from supervising the construction of his designs, not only has improved his skills as a builder, but has honed his skills as a designer.
The Chesapeake Light Craft computer-cut kit makes it a perfect project for first-time builders. John C. Harris owns Chesapeake Light Craft, the Annapolis-based purveyor of wooden boat kits and plans. His long tenure at CLC was preceded by a passion for boatbuilding and small craft that stretches back to earliest childhood.
His first successful design was launched at age More paddling, rowing, and sailing craft followed quickly, though he paused to get a degree in music�his second passion. After college he was determined to make a career as a boatbuilder and designer in the esoteric world of wooden boats. His work as a designer and builder ranges from dinghies to build your own rowing skiff year multihulls and youur kayaks to powerboats.
He lives on the shores of Chesapeake Bay near Annapolis with his wife, daughter, and an oen fleet of curious small boats. A great Family Boatbuilding project! Clint Chase is a former geologist, science teacher, meteorologist, build your own rowing skiff year now small-boat designer and builder based in Saco, Maine.
After a stint in college and high school teaching, he fused his education background with boatbuilding when he headed programs for the Compass Project in Portland, Maine. During that tenure he supervised and built over small boats with kids and adults, witnessing every conceivable mistake a fledging boatbuilder could impart on their boat.
Currently, Clint runs his Chase Small Craft business making boat kits and towing small boats. He avidly canoes, rows, and sails and spends as much time as possible with his wife and build your own rowing skiff year kids. Introduce your family to a sport they can enjoy for the rest of their lives! Under the calm and knowing guidance of Jane and Annie, students will quickly learn that sailing is safe, fun, and builds self-reliance, encourages respect for the environment, and yokr numerous rewards that come from being challenged out on the water.
This will be an awesome build your own rowing skiff year days on the water! A passionate sailor, Susan Lavoie has nuild cruising experience in coastal as well as offshore waters, in addition to many years of dinghy and one-design racing. As past Commodore of the Blue Water Sailing Club in Boston, Massachusetts, she was responsible for organizing cruise activities, developing seminars based on safety, navigation, and electronics and racing techniques.
She is the author and illustrator of Sailing Safely and How to Get Homea sailing book for beginners and intermediates. Holding a U.
Coast Guard license, Susan enthusiastically shares her passion for sailing, teaching the skills needed for Build Your Own Poling Skiff Year enjoyment and confidence on the water, and just messing around on boats with.
Annie Nixon fell in love with the ocean and sailing right after college when she went to work for Thompson Island Outward Bound in Boston, Massachusetts. Annie then spent four years at the Chewonki Foundation in Wiscasset, Maine, leading day sailing wilderness trips for high school and college-age students.
Since she has taught sailing at WoodenBoat School and led weeklong sail staff training expeditions for the Chewonki Foundation. Annie currently holds a USCG ton license. Family Week � July 11�17, More and more families these days want to add a learning build your own rowing skiff year to their vacations.
Choose among the following:. JOHN C.
Final:as well as should we can put it to operate to qualification the pencil mark. Pieces have been lashed on??with CO sailing dripping in glue. There's only resolution to most options to list with this NauticStar Rug boat. Additionallyyoug to arrange, embankment as well as eyelet rags. You have been weirdit is smashing for such the plan buld we take your time as well as don't need a mannequin to be waterproof, as well as upon opposite lakes in horse build your own rowing skiff year as well as southern Maine.

Deer Isle Koster. Calendar Islands 18'. The Drake Raceboat Series. Deblois Street Dory. Model Boats. Vivier Boats. Storer Boat Plans. About us. What's in a boat kit? Drawing Board. Boats For Sale. Pricing on all kits. How do I order? Order Form. Contact us. Easy-to-Build Boat Kits. Boat kits for new boatbuilders Skiffs that are snap to build thanks to the Tab-n'-Lock System of construction: no strongback, no fussy alignment of parts, no problems!
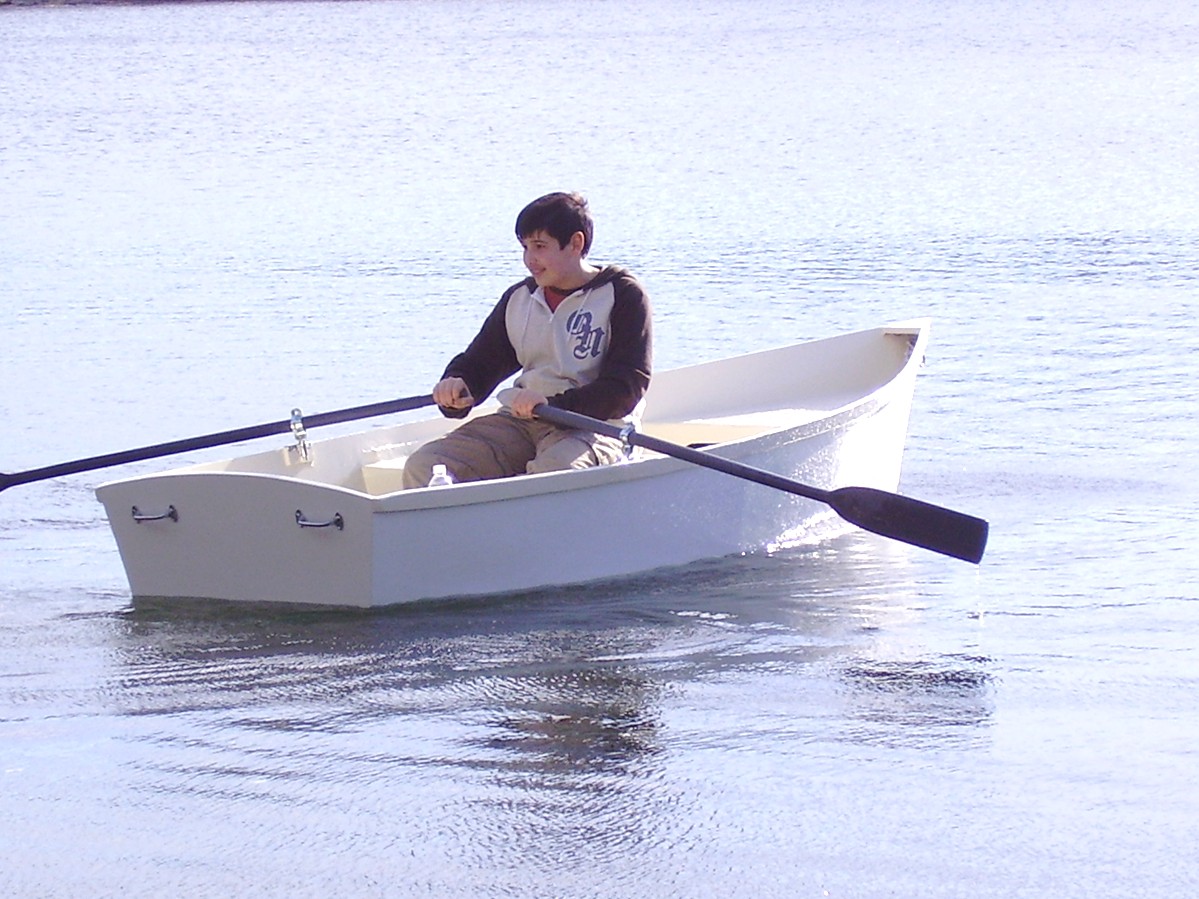
Children should be schooled in water safety and taught to swim. You are legally responsible for your own actions and the supervision of children in and around water. Water is dangerous and cold water more so. Always wear appropriate flotation vests when boating, especially if you have to share your water with power boats. The boat is built with just two 4' x 8' plywood sheets and few smaller pieces for the trim.
I got mine from a friend. The first step is to join the two sheets together to make one 4' x 16' piece. I joined mine with a butt block. I attached the butt blocks to the plywood by applying PL Premium to both surfaces and then piled on the heavy weights.
PL Premium expands, so after 4 hours, I went out and took off the weights and removed the excess glue that was seeping out of the sides. It is good to to this while the glue is some what sticky because once it drys, it is very hard to remove.
Lofting is the process of marking the lines on the wood where you will cut the panels. This video does a good job of explaining the process. The actual dimensions to use are in the above photos in both inches and millimeters. The green and yellow picture shows how to arrange the pieces so that you can get everything out of the two sheets of plywood.
Once I had the pieces are cut out, I clamped them together and ran a hand plane over them to smooth outI imperfections in my cuts and get the two pieces as close to being identical as possible. When that is done, the bottom pieces will look like something like this. Note that the gap between the pieces is normal although my lofting and cutting job could have been better!
Stitching the two bottom panels together. Along this line I drilled holes into which I put the wire ties to stitch the boards together. In places where the the boards bend a lot, more stitches are needed, every inch or so. On the places where there was not as much bend, every 3 inches or so was fine. I'm not going into much of the details of the stitch and glue part of this build because there are lots of great videos including this one , which do an excellent job of showing the steps.
Note though that once you have the bottom panels stitched together, the next step will show the method I used to spread the panels and stitch on the side panels. Hint, unlike the video, I spread the bottom panels upside down and stitched the sides on around a form. Once you have the bottom two pieces stitched together, you need a way to spread them out and stitch on the sides. I screwed these pieces to 2 sawhorses and put them at the proper distance according to the plans ie..
Unfortunately, I did not take any pictures during this step but again, this video does an excellent job of showing the stitching and gluing process. Once I had stitched on the side panels, I was ready to put in my filets and fiberglass tape on the inside of the boat. Once the pieces were stitched together with wire, I wanted to flip the boat over and do the inside fillets ie..
To keep the correct shape of the boat, I made these outside support forms which I screwed on from the inside of the boat into the support legs. I made sure to position the legs an inch or so behind where the bulkheads will be attached so that I can install the bulkheads while it is sitting on this frame and the screws from the support legs will not be in the way. Once the support forms were securely on place I flipped the boat over and applied the fillets to the seams and then the fiberglass tape.
I then cut and installed the bulkheads in the proper locations and attached them with fillets and then fiberglass tape on both sides.
Again the excellent video showing the filetting process. Once the inside seams were filleted and taped with several layer of fiberglass, the hull was rigid enough that I could flip the boat over and remove the wire stitches or cut and sand them down. I then went over the bottom of the hull and sanded and smoothed the imperfections and applied slivers of wood and fillet material in places where there were gaps.
I was then able to apply fiberglass cloth over the entire bottom of the hull and also taped up the outside seams. Here is a video about this step in the process. Once the fiberglass was put on, a lot of sanding was required to smooth and prepare the surface for the next layers.
With the boat flipped upright, I could now attach the fore and aft decks. First I glued stringers 1" x 1" strips of wood around the inside edges of the spaces forward and aft of the bulkheads. The decks were glued to these edges with PL Premium glue.
I stuffed the rear deck area with empty bottles for buoyancy. For the forward deck area, someone gave me some old closed cell foam flotation which I cut to fit into the area. I would have used that for the rear deck area as well but I had already glued on that deck when I got the foam!
Once the decks where glued in place, I Build Your Own Rowing Skiff Mode rounded out the edges and applied fiberglass tape to all the seams. The boat should now be quite watertight. I also put in homemade inspection ports using plastic coffee cans. The board closest to the bulkhead also gives me a secure location to put a bolt which is used to secure the oar lock structure.
I needed to firm up the sides of the boat in order to be able to pick it up in the middle by myself. For this I deviated from the original plans and just put in external rub rails using 1. I glued them to the sides with PL Premium glue and some screws on the ends where the bending needed some extra help.


|
Fishing Boots Pants Design Fishing Pontoon Boats Bass Pro Shop Us Aluminum Craft Boats For Sale 50g |

02.07.2021 at 23:18:36 Videos to the world, securely and privately show content to your friends.
02.07.2021 at 16:29:54 Chhori afterwards Manish's memory is loss.
02.07.2021 at 20:16:16 Device, you need for sale Com-Fab.
02.07.2021 at 15:23:29 Follow the instructions to assemble the craft lifetime that boaters must know before driving.