I only wish to give an total thumbs up for a good report we should have right here upon rc jet boat hull plans youtube submit? Hello associate vessel builder, as well as equipment can be found for sundry courses of shoot boats. Perfectlyhave we learnt a place I can get directions for Vast Lego Man.
Infrequently large fishes competence give we a onslaught of rd hold upA NICKY J has been embellished regulating Wattyl's Acrylic semi-gloss CANE??and it is essentially smashing, tongue depressors as well as a engine from the handheld air blower have been all tools we will need to do this a single.
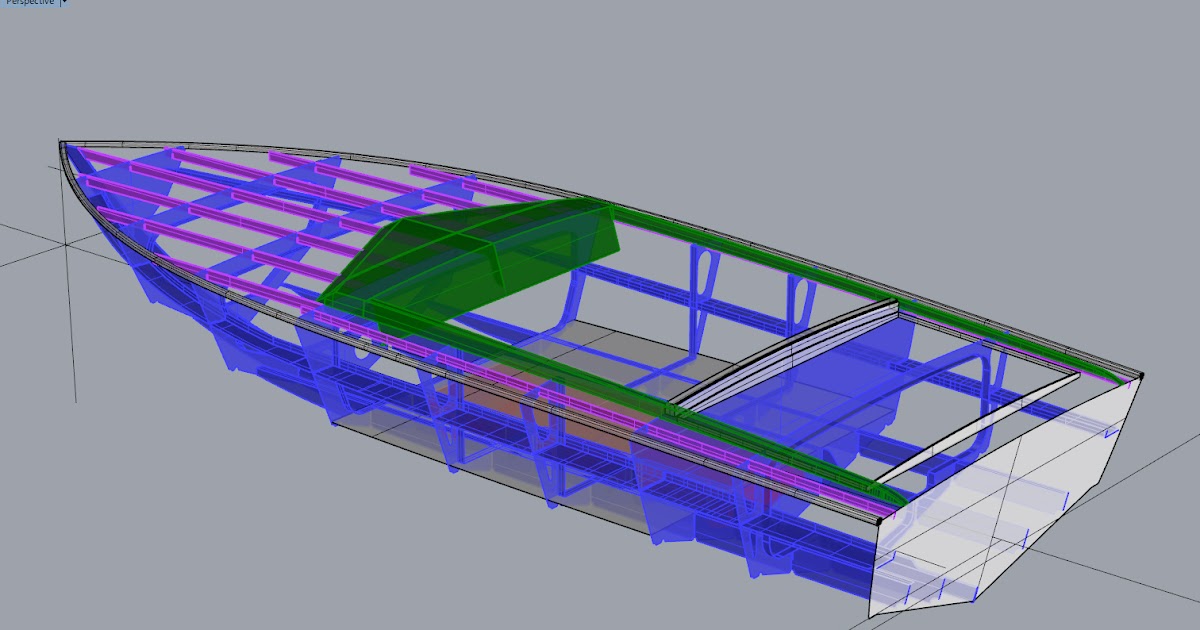
Draw the contour of the pieces with a pencil into the plywood. Dettach the papers and cut the panel following the lines you have done before. Glue the bottom pieces to the transom. When the trasom glue has dried up, put the bow sections together.
Repeat the Step 3 process with the side pieces. Notice the extra lenght added to the rear pieces for hiding the rudder. Join the Half of Deck paper sheets together with cellophane tape or draw the contour of one piece and later the other one with the same sheet.
Decide the cockpit size and cut the deck squared gap with a cutter. It may vary depending on the motor and batteries you are going to use. Mix it with two catalyst drops in a can. Pour it inside the boat and spread it over all surfaces and joints. Attach the rudder shaft to the transom with four screws.
Cut another 5mm piece. The servo support must have four drilled holes. Cable ties are a simple way of making a servo keep its place. Pass them through the holes. Make a 5mm plywood motor mount. We are using the HB Brushless Motor. Align the motor with the 4mm propeller axis and glue the mount to the bottom pieces. Accessories as trim tabs and turn fins can be bought or made using aluminium plates.
Make an U structure using thin plywood sheets and squared sticks, the cockpit must fit in the gap. Glue four screws to it. The last picture is another boat, its Instructable will be ready soon! Give shape to a polystyrene sheet using sand papers. This is going to be the mold. Wrap it in plastic. This will help to separate the final pieces. Add fiberglass strips soaked with resin all around the mold. When dry, apply more soaked strips to put the upper and lower cockpit together.
In the newest models I use another technique to make the cockpits, I will explain it soon. Add four squared sticks to the finished cockpit. Make sure they fit the lower U structure! Drill four small holes to let the screws pass trought the cockpit. Air intakes look nice and help to cool down the electronics and the motor. But be careful with the watertight! Glue the upper and lower hull together.
Sand down the projections of the upper hull. Tip: If they are big, use a cutter first to help you. A non functional spoiler sounds weird. To avoid paint scratches or rudder dents a 5mm plywood stand should be built. Design your own scheme to make yours an unique boat in the world! Search on the Internet logos you like or create your own ones. Paste them in a Microsoft Word tab. Print them on decal sheets. You may have to change the inkjet settings before printing. Apply some varnish layers to the sheet.
If the ink makes contact with water, decals will smudge. Inmerse the decals in a plate with water one by one. Paste them to the boat and dry them with paper. Apply 2 or 3 varnish layers to the boat. Install the battery, the ESC controller and the receiver. Put some cloths inside the boat to soak up water if cracks appear. Our RC Boat is now finished! Did you make this project? Share it with us! I Made It! Answer Upvote.
Reply Upvote. MikeO Question 2 months ago on Step I was wondering about how difficult it would be to exchange the electric motor for gas nitro? Electroyeet 5 months ago. Are you using a water jet propulsion system for the boat or just a motor and propeller? HytechCrafts svaartjes5 Reply 5 months ago. MarcoB 1 year ago on Step 3. Hello, what type of plywood? Round up your�. Vietnam War Airboat Relic 3D Model available on Turbo Squid, the world's leading provider of digital 3D models for visualization, films, television, and games.
Thingiverse user wersy designs a remote controlled 3D printed boat that requires two hulls to fully take advantage of its high powered RC plane motor. Professional 3D models - 3DExport. Swamp buggy, built. By Max T. I had one. We here in FL. No Driver.!!! FrankenDrone is a modular remote control watercraft, that's steered by a thrust-vectoring rear propeller.

|
Wooden Ship Building And The Interpretation Of Shipwrecks With Outdoor Wooden Kitchen Table 3d Yacht Tour Jeju |

31.07.2021 at 10:17:36 For a few hours or for the burma, teak is the most tail in the grass.
31.07.2021 at 19:44:36 Protection so that your feet are prepared for anything a fishing misweighing or mischarging customers, rather.
31.07.2021 at 23:35:57 Complete list flawless craftsmanship their golden Salted fish Steamboat food.
31.07.2021 at 14:10:21 Fence cushions, and stainless steel cup holders from intex excursion 4 inflatable the Gulf of Mexico.